Quick 'n' Easy Knitted Floor Cushion
I love to invite friends over to watch a movie or play some board games, but it felt inhospitable to ask them to endure sitting on my anything-but-plush "carpet." And in my cramped university apartment, space is a commodity that must be used efficiently! So I designed this as a simple project that could be conveniently stacked in a closet or stored beneath a futon.
I’m all about instant gratification, and this project turned out to be fairly quick and satisfying—after all, it's mostly just panels of stockinette stitch seamed together.
**Note: You can adjust the pattern to fit whatever size cushion insert you would like; 16"x16"x4" is just what I was able to find in the craft section at my local mass-merchandising store (hence the 16"x16" top/bottom panels and the 16"x4" side panels).
Quick 'n' Easy Knitted Floor Cushion
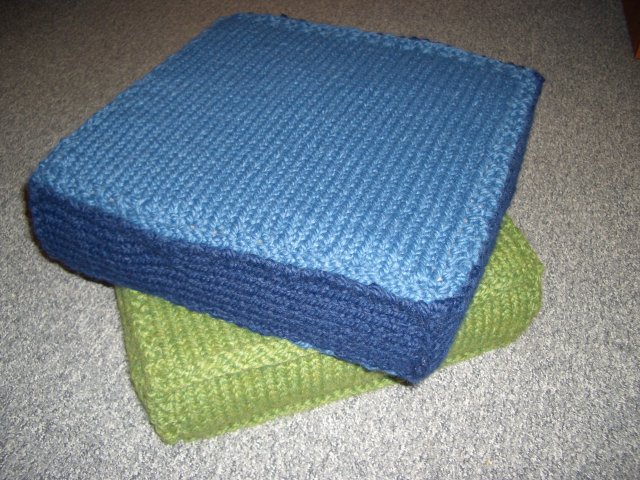
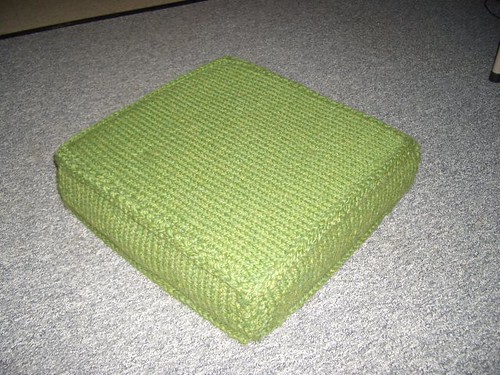
Finished size:
16 inches (l) x 16 inches (w) x 4 inches (h)
Materials:
Set of 9mm needles (US Size 13, UK size 00)
--(using 14" needles or a circular needle is recommended for ease and comfort while knitting)
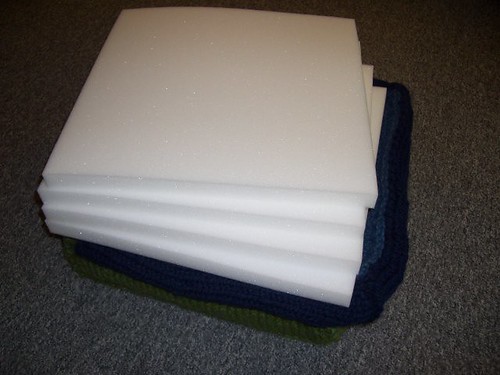
16"x16"x4" foam cushion insert
--(I used 4 cushions of the dimensions 16"x16"x1")
Tapestry needle
Yarn requirements:
Approx. 325 yards of Super Bulky yarn
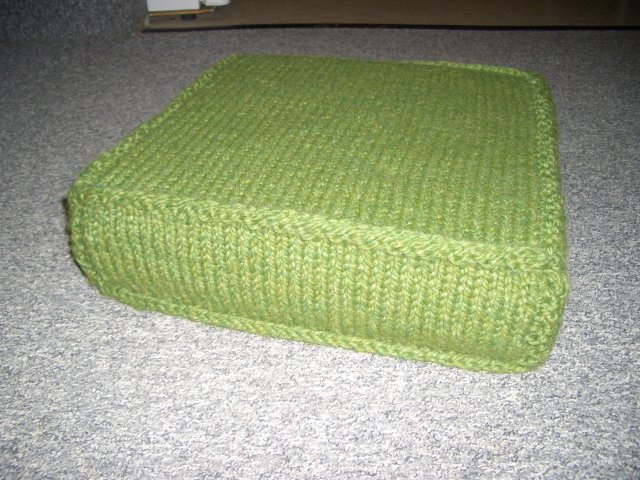
Variation 1: Lion Brand(R) Wool-Ease Thick & Quick, 3 skeins in the Grass color
**Note: I only had a few yards of the three skeins left, so be careful with the gauge/measurements or a fourth skein may be required.
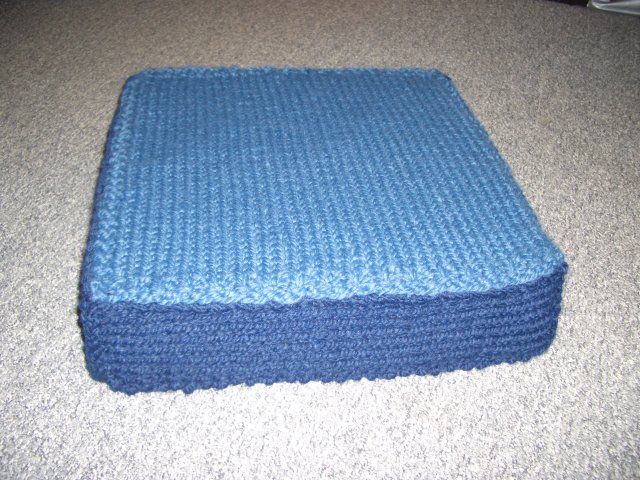
Variation 2: Lion Brand(R) Wool-Ease Thick & Quick, 2 skeins of Denim and 1 skein of Navy

Gauge:
9 sts and 14 rows over 4 inches (10 cm)
Abbreviations:
CO = cast on
K or k = knit
P or p = purl
Sl = slip as to purl with yarn held in back
Sts or st = stitches
{......} = repeat instructions within the brackets
BO = Bind off
Top/bottom panels (make 2):
Variation 1:
CO 38 sts.
Row 1: Knit.
Row 2 and all even rows: K2, P to last two sts, K1, sl1.
Row 3 and all subsequent odd rows: K to last st, sl1.
Continue until length reaches 16 inches.
BO (leaving a long yarn tail).
Variation 2:
CO 38 sts.
Rows 1 and 2: K1P1 along row.
Row 3 and all subsequent even rows: K2, P to last two sts, K1, sl1.
Row 4 and all subsequent odd rows: K to last st, sl1.
Continue until length reaches approximately 15.5 inches.
Next two rows, K1P1.
BO in K1P1 pattern (leaving a long yarn tail).
Side panels:
Variation 1 (make 4):
CO 38 sts.
Follow pattern above. Continue until length reaches 4 inches.
BO (leaving a long yarn tail).
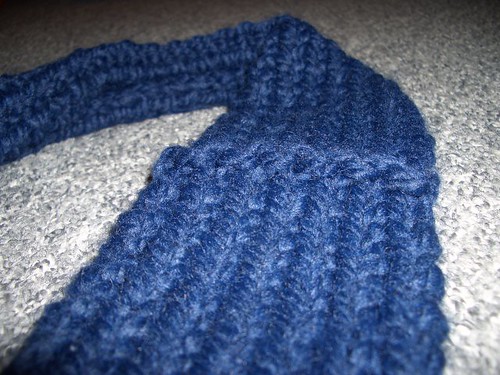 Variation 2: (see pictures for examples of the PURL rows)
CO 9 sts.
Row 1: Knit.
Row 2 and all subsequent even rows: Purl to last st, bring yarn to back, sl1.
Row 3 and all subsequent odd rows: Knit to last st, sl1.
Continue until length reaches approximately 16 inches, ending with a row 2. PURL entire next row.
*Starting with row 2, continue alternating row 2 and row 3 above for an additional 16 inches. PURL entire next row* 3 times, but on the third repeat, BO in purl on the PURL row (leaving a long yarn tail).
**Note: These PURL rows (out of the stockinette pattern), while not essential, can help to align the side panels and make sharper turns/corners. If desired, they may be omitted: After Row 1, alternate row 2 and row 3 for 64 inches.
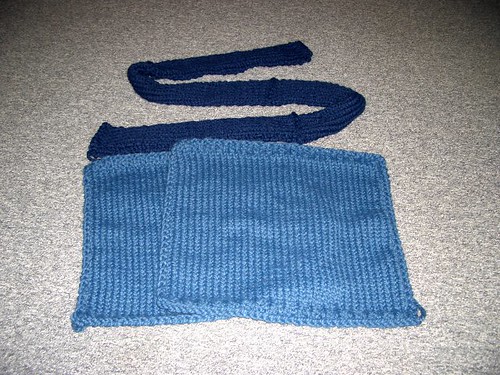 Finishing:
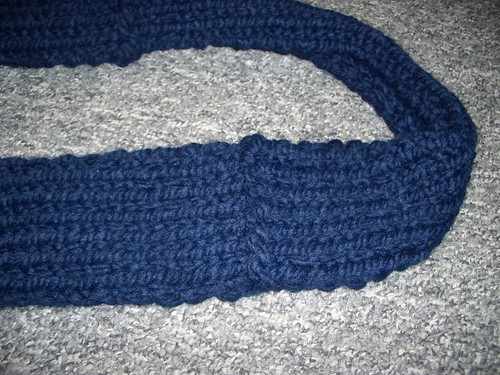
I sewed the pieces together leaving the end stitches hanging over in order to keep the panels pulled fairly tightly across the cushions. Be careful not to seam too tightly, since the seams will be at a 90-degree angle instead of laying flat.
Attach the side panel(s) to the top and bottom panels, leaving one side open (see pictures below). Insert the foam cushion. Finish seaming along the remaining unattached edges. Pull all loose ends to the inside.

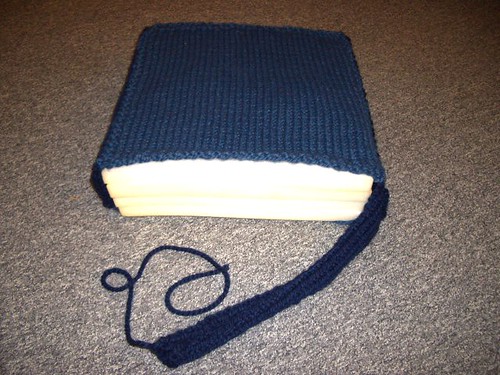
Notes:
- Knitting the first two and the second-to-last stitches and slipping the last stitch allows it to lay a little flatter, and aids with sewing the pieces together at the end.
- Because I used four 1-inch foam seating cushions inside, I ran a length of yarn through them all a couple times – and sewed the 2 cushions closest to the top and bottom covers to the panels – in order to prevent them from moving around in relation to each other.



6 Comments:
Those are really neat and they look simple to! Thanks for posting your pattern! Great work!
Thank you! I'm going to use your pattern methods for the seats in my picnic set by using kitchen cotton thread instead. Sewing the foam together is a really good tip.
PS Wouldn't it be fun to knit star-shaped floor cushions like this
Thanks its just what I was looking for....is it possible to substitute other yarn like Red Heart?
Yeah, I would think you could use Red Heart for this pattern. That would be cost-effective, too! You may have to hold two strands of yarn together to get a thickness similar to the Thick-N-Quick, (or just increase the number of stitches you cast on), in order to achieve the 16" width to fit the cushion inserts. Please feel free to post any more questions you have! :)
Hi,
Those are looking very simple and easy task. Thanks for sharing your ways with us.
Keep it up!!!
This is a great idea for making use of space in an apartment.
Post a Comment
Subscribe to Post Comments [Atom]
<< Home